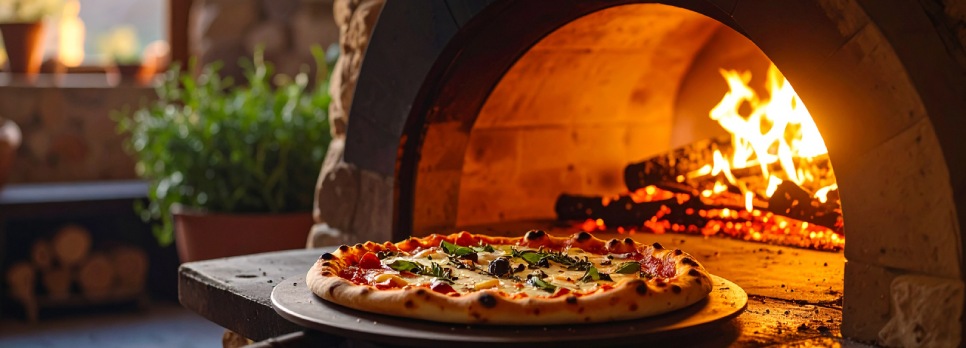
Picture it, an ideal evening, with the smell of fresh pizza carried over the backyard, the noise of wood burning crackling, and your friend or two around. Building your very own pizza oven in the backyard could come off as something daunting but with wise planning, a little patience, and correct materials, it is very much possible and an extremely gratifying experience. This guide will take you through all the steps you need to know to build your own pizza oven from scratch using bricks, allowing you to treat yourself to homemade pizza from your garden.
Why Build a Pizza Oven?
Before talking about how, let us first consider why being the proud owner of an outdoor pizza oven is a grand idea. To name a few:
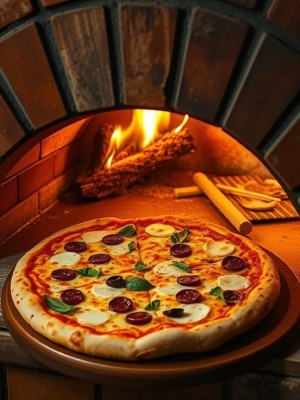
- Authenticity: Wood-fired pizza ovens make thin crust pizzas with a beautiful char on the crust-the likes of which are impossible to make in a kitchen oven. The wonderful aroma of wood smoke further complements the whole taste experience.
- Social Experience: This is a night environment where people gather for a common good- pizza. The prep-bake of the pizza is an interactive process that really engages everyone in the backyard from evening till night.
- Satisfaction: There's a kind of satisfaction in having built something. The other satisfaction comes from eating pizza fresh off that oven.
Well, let's explore how the process pans out.
Pick the Right Location
Choosing the right spot for your pizza oven is crucial. You’ll need a flat, stable surface that’s away from any flammable materials. Here are some tips to consider:
- Safety First: Keep your pizza oven at least 10 feet away from any structures, trees, or fences to avoid fire hazards.
- Accessibility: Make sure the location is easily accessible for the materials you’ll need to transport, as well as for future pizza-making sessions. Also, consider the wind direction, this will help direct smoke away from your sitting area.
- Space: The oven itself should have a working space around for the prepping of ingredients, seating, and strolling about.
Gather Materials
Now you see, it is about time you go and pick all the materials you'll need in building your oven. But, to keep it simple, here is a materials list for you:
- Concrete blocks or bricks for the base and structure.
- Firebrick for the oven floor and dome.
- Mortar mix to bond everything together.
- Cement board or kaowool for insulating materials.
- Refractory cement to coat the inside walls of the oven.
- Rebar for reinforcement.
- Stainless steel pipe for the chimney.
- A wooden door to help regulate heat (optional).
- Tools: trowels, level, shovel, wheelbarrow, and bucket.
Some options might be decorative stones for the exterior of the oven and heat-resistant paint for the finishing touches.
Build the Base
A solid foundation is the beauty that will carry your pizza oven through generations. The base is the entire support structure of your oven. This is how you construct it: Dig a shallow hole in the ground where the foundation will be constructed. Depending on your oven size, the hole should be between 12 and 18 inches deep. Mix your concrete according to the instructions of the package and pour it into the hole. Level everything out; smooth the surface with a trowel before it dries out.
After the foundation has dried, you may begin to stack your concrete blocks or bricks. Set up a square or rectangular shape that will make up the walls of your oven base. Use mortar to bond the blocks together, checking that everything is level. There should be somewhere from four to six inches between the top of the base and the area where the pizza oven floor will be laid. This will be the location of your insulation.
Insulate the Oven
Insulation is important when it comes to keeping temperatures inside the oven consistent and extremely hot. An uninsulated oven will lose heat into the atmosphere, making it inefficient. Line the inside of the oven base with kaowool or cement board so that heat is prevented from leaking out into the atmosphere. Afterwards, pour another concrete layer for a solid oven floor. The surface of this floor should be lined with firebricks to provide a resilient and heat-resistant cooking surface.
Build the Oven Dome
The dome constitutes the center of your pizza oven, whereby having a perfect shape ensures an evenly distributed heat. Starting with the basics:
- Make a Template: Make a template if you want a perfect dome. You can simply make a wooden frame that guides the shape of the dome or create a curved structure using something flexible such as plywood.
- Stack Firebricks: Start stacking the firebricks in a circular manner to form the base of the dome. Mortar is used to set bricks, whereas a turquoise-colored cement might be allowed to flow into the joints and streaked with finger marks, thereby stabilizing the joints.
- Shape the Dome: While stacking the bricks, form the arch by bringing the bricks inward little by little until they meet at the top. The key in this step is to be patient as great attention is required for the dome to be even and aptly shaped.
- Cutting Bricks: You may have to cut some bricks while fitting the shape of the dome. Use either a masonry saw or an angle grinder.
Add the Chimney
Your pizza oven needs to have a chimney to vent out smoke and allow for proper airflow. Here is how to install it: Cut a hole for the chimney near the top of the oven dome. This should measure about 6-8 inches, depending on the diameter of your chimney pipe. Insert the chimney pipe made of stainless steel into the hole. Check that it is properly attached, with interlocking joints or adhesive, and no gaps in between. Keep the chimney pipe straight to allow proper airflow.
Finish with Refractory Cement
Once the dome and chimney have been placed, apply the refractory cement on the interior. This substance protects the oven and equips it with heat retention properties. Using a trowel, apply a thin layer of refractory cement onto the interior of the oven dome. Also, make sure you put it well on all firebricks.
The trowel is also used to hold and smooth the surface into an even finish, which will assist in heat retention and makes the cleaning of the oven much easier.
Final Touches
Once the erection stage is ready, you consider giving finishing touches to the exterior walls of the oven. Here are the finishing touches one may consider: decorative bricks or stones may be applied to the outer walls of the oven, imparting a beautiful rustic look. A wooden door to regulate temperature inside the oven is a smart addition: it holds heat in while your pizza bakes and gets taken away once baking commences. After that, seal the exterior to protect it from weathering, or perhaps paint it with a heat-resistant paint of your choice for a custom look.
Final Thoughts - Enjoying Your Homemade Pizza Oven
A backyard pizza oven needs a lot of effort to build, but that effort is all very much worth it. Design and schedule your time for the big outdoor pizza oven project, and then endless opportunities for pizza-making experiences will come your way. The oven could be for the family, for friends, or just the two of you sharing a simple treat: Whatever the case, it will make an elegant installation in your outdoor ambience, turning the backyard into a pizza paradise. So, get down and dirty, trapped in the making materials, or have fun together with pizza making for enjoyment unlike ever before!
With the kind support from

Recipes


Explore More
- Authentic Neapolitan Pizza Recipes & Tradition at La Piazza Al Forno
- Cooking Tips, Techniques, and the History of Your Favorite Recipes
- The Secrets Behind Authentic Neapolitan Pizza Dough
- How to Build a Perfect Backyard Pizza Oven for Homemade Pizzas
- Differences Between Fresh and Aged Mozzarella - How to Choose the Right One
- Master the Art of Pizza Making with Our Recipes at La Piazza Al Forno
- Meet Us